Obstacle Avoiding Arduino Robot Car
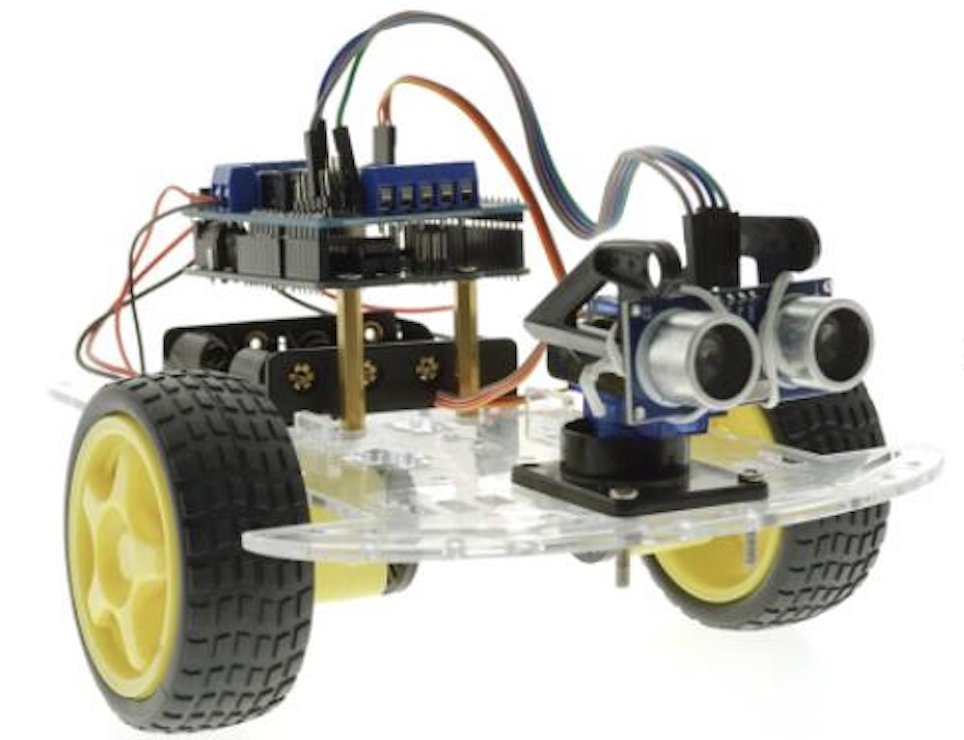
This STEM project uses Arduino, sensors and dc motors to make a robot car that avoids obstacles.
Project Story
What I made
It is a car that moves forward, but turns away every time it is a within a specific distance of any nearby object.
Why I made it
It is a simple yet promising glimpse into the future of robotic cars and automation integrated into cars (like, self driving cars). It enabled me to understand Arduino better and prepare for university applications.
What I learned
Learned how to troubleshoot code, how arduino works [ground, battery positives, signal pins etc], little bit of coding.
Materials & Components
- 1x L298N Motor Driver - 1x HC-SR04 Distance sensor - 1x battery pack/battery holder (4AA-6AA range) should provide 6v-9v ideally on the higher side - 1x Car Chassis kit - 2x DC motors and wheel (usually comes with the chassis kit) - 1x Arduino Uno Rev 3 - 1x Arduino cable (to connect with laptop port) - 20x-50x M-F, F-F, M-M Cables any amount more than approx 20 wires are more than enough - 1x solder (not necessary) - You can also buy a kit that includes them all [better, safer option] -1x SG90 servo motor (not needed)
How to Make It
-
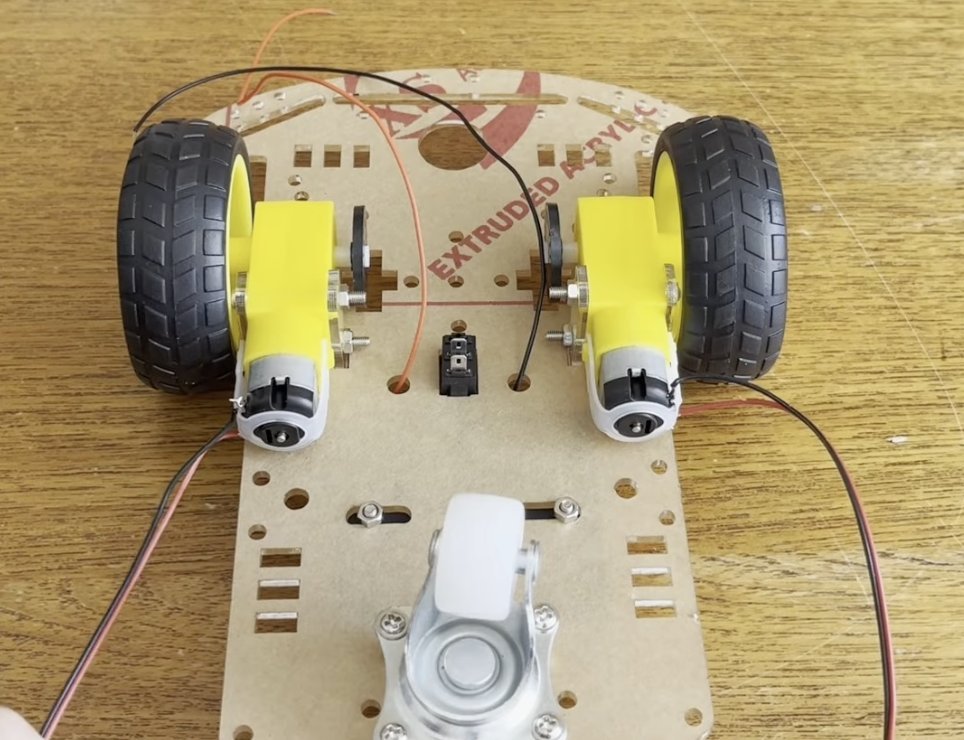
1Set up the chassis kit This would include fixing the DC Motor, wheels and attaching the wheel on the chassis as well as the battery pack holder. A more lengthy guide:https://www.youtube.com/watch?v=dBA_23jfRBs, BUT IMPORTANT: DO NOT solder the connections from the battery to the dc motor yet.
-
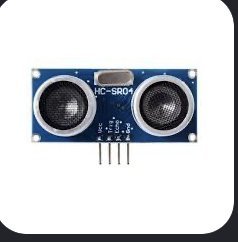
2Connect the HC-SR04 [Sensor that resembles eyes] to the Arduino circuit board. Connections are: VCC to Arduino 5V, GND to Arduino GND, Trig to arduino D9 and Echo to arduino D10
-
3Connect the L298N Motor Driver. IN1 → Arduino D2, IN2 → Arduino D3, IN3 → Arduino D4, IN4 → Arduino D5 Arduino GND and L298N GNDs should also be connected. ENA, ENB jumper caps should be removed and connected to Arduino D5, D6 respectively.
-
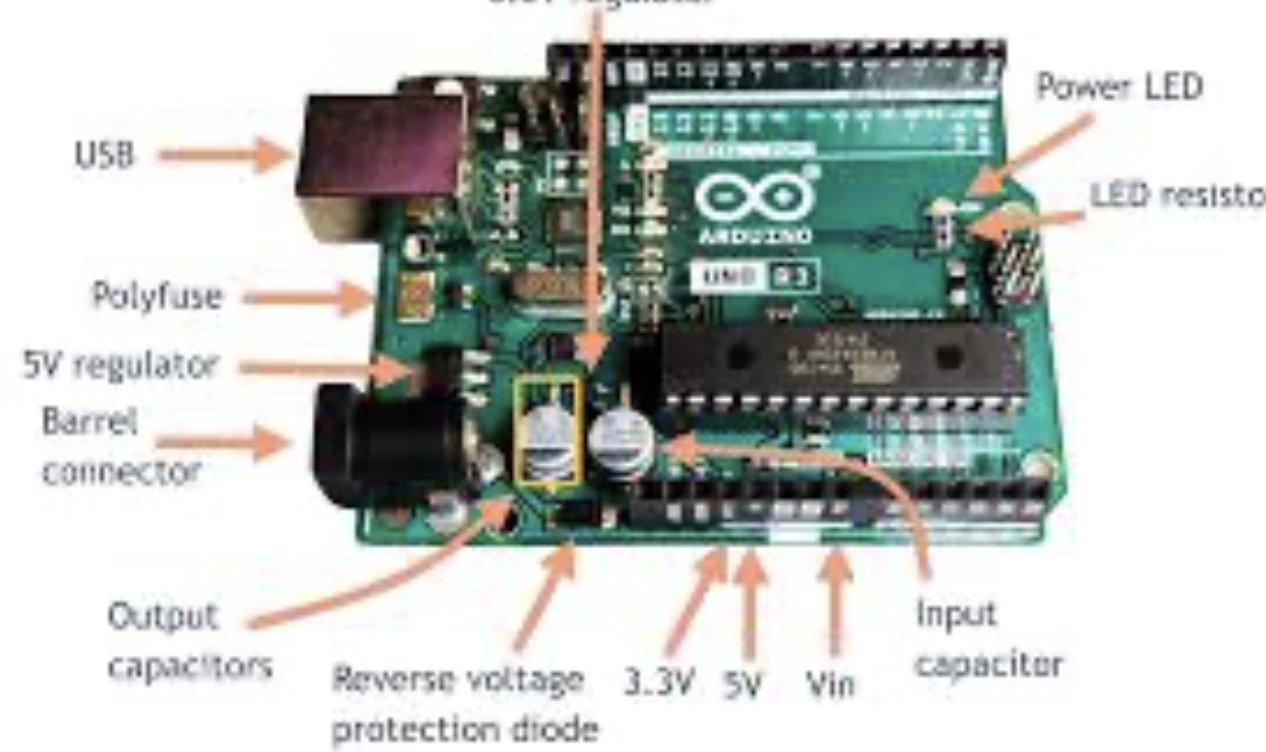
4Battery connections: Battery POSITIVE (+) [Red wire] with Arduino VIN and L298N's VCC Battery NEGATIVE (-) [Black wire] with Arduino GND and l298N's GND
-
5Temporarily disconnect arduino and connect arduino to laptop throw port using an arduino cable.
-
6Download Arduino IDE and upload code. Arduino IDE installation guide: part of the pdf (NOT THE WHOLE) https://intra.engr.ucr.edu/~jrealmuto/courses/me133-w23/files/simple-arduino-projects.pdf Paste the code in a new sketch and load it onto the Arduino board DO NOT CONNECT BATTERY AND LAPTOP AT THE SAME TIME for safety purposes The code: // ===== L298N MOTOR DRIVER ===== const int ENA = 5; const int IN1 = 2; const int IN2 = 3; const int IN3 = 4; const int IN4 = 7; const int ENB = 6; // ===== HC-SR04 ===== const int TRIG = 9; const int ECHO = 10; int motorSpeed = 180; // 0–255 int stopDistance = 20; // centimeters void setup() { pinMode(ENA, OUTPUT); pinMode(IN1, OUTPUT); pinMode(IN2, OUTPUT); pinMode(IN3, OUTPUT); pinMode(IN4, OUTPUT); pinMode(TRIG, OUTPUT); pinMode(ECHO, INPUT); Serial.begin(9600); stopMotors(); delay(1000); } void loop() { long distance = getDistance(); Serial.print("Distance: "); Serial.print(distance); Serial.println(" cm"); if (distance > stopDistance) { moveForward(); } else { // Obstacle detected stopMotors(); delay(300); moveBackward(); delay(500); stopMotors(); delay(200); turnRight(); delay(600); stopMotors(); delay(200); } } // ===== DISTANCE ===== long getDistance() { digitalWrite(TRIG, LOW); delayMicroseconds(2); digitalWrite(TRIG, HIGH); delayMicroseconds(10); digitalWrite(TRIG, LOW); long duration = pulseIn(ECHO, HIGH, 30000); // If no echo is received if (duration == 0) { return 400; } return duration * 0.034 / 2; } // ===== MOVE FORWARD ===== void moveForward() { analogWrite(ENA, motorSpeed); analogWrite(ENB, motorSpeed); digitalWrite(IN1, HIGH); digitalWrite(IN2, LOW); digitalWrite(IN3, HIGH); digitalWrite(IN4, LOW); } // ===== MOVE BACKWARD ===== void moveBackward() { analogWrite(ENA, motorSpeed); analogWrite(ENB, motorSpeed); digitalWrite(IN1, LOW); digitalWrite(IN2, HIGH); digitalWrite(IN3, LOW); digitalWrite(IN4, HIGH); } // ===== TURN RIGHT ===== void turnRight() { analogWrite(ENA, motorSpeed); analogWrite(ENB, motorSpeed); // Left motor forward digitalWrite(IN1, HIGH); digitalWrite(IN2, LOW); // Right motor backward digitalWrite(IN3, LOW); digitalWrite(IN4, HIGH); } // ===== STOP ===== void stopMotors() { analogWrite(ENA, 0); analogWrite(ENB, 0); digitalWrite(IN1, LOW); digitalWrite(IN2, LOW); digitalWrite(IN3, LOW); digitalWrite(IN4, LOW); }
-
7Fasten all connection by bending wires/using solder Fasten physical objects and balance weight using UHU glue and cardboard Do not use glue on the hc-sr04's sensor "eyes"
-
8SG90 motor can be used to turn the sensor of the robot but it is not needed For more details regarding it please consult YouTube videos and code will have to be changed.
-
9BE VERY CAREFUL WITH BATTERY CONNECTIONS because arduino board can mess up, troubleshoot and confirm safety using chatgpt and YouTube videos. Do not get discouraged if nothing happens. If you hear the motors sound, that means that the voltage is insufficient [most probably]. Double check everything
Photos
![motor driver [l298n]](https://my.paksc.org/storage/projects/photos/07aec967-b8a4-4e52-b8d3-a488d217a671.jpg)
Comments (1)